Slash Per Click First-Session Checklist
Power badges, first Win, first rebirth, group join, slash, aura, pet.
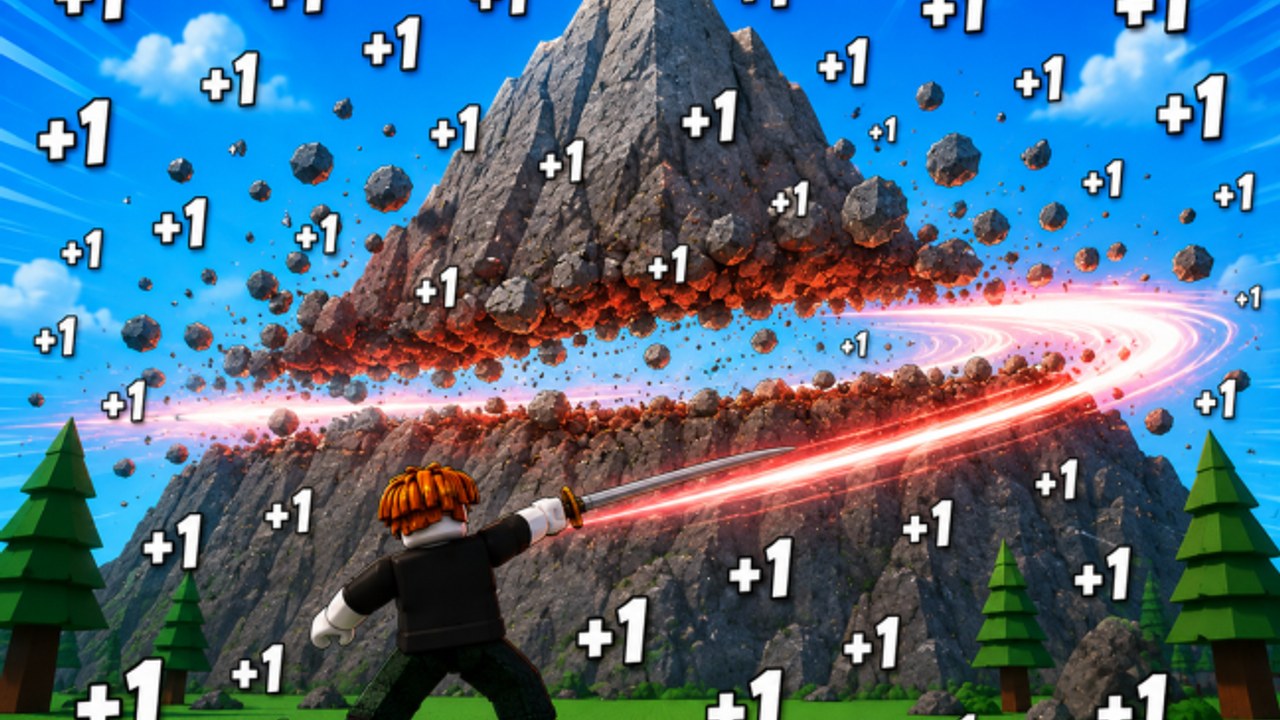
Use this checklist on a fresh [W4!] +1 Slash Per Click! account. Work top to bottom on a public server (max 10 players, no VIP). Tick a line only when the live HUD or badge inventory agrees. Parent overview: Tools Hub. If a step is confusing, open the linked guide instead of skipping ahead.
Before you click
- Launch the official +1 Slash Per Click place (
101558013317432). - Skim Getting Started and How to Play so the Power → wall → Wins loop is clear.
- Confirm controls on your device (click/tap slash, move into the wall, open shop).
- Join Ryu Studio (community
982562130), then rejoin the experience so membership can sync. - Glance at codes. As of 12 September 2026 there are no independently verified public promo codes. If that changes, use How to Redeem Codes once.
Badge line (session one)
Live badges we can name: Thanks For Playing!, 100 Power, 1000 Power, 1st Win!, 1st Rebirth. Do not invent extra badge names.
- Thanks For Playing! — often appears after you actually stay in the experience. If it does not pop immediately, keep playing; the live badge UI is the source of truth, not this sentence.
- 100 Power — click slashes so shockwaves grant Power. Route: how to get Power. A Test Dummy is a paid trainer if you later open gamepasses; you do not need it for this tick.
- 1000 Power — same loop, longer. Do not spend every Win the moment you see the shop if you are still short of this badge; empty Power stalls the wall.
- 1st Win! — walk Power into a wall until it breaks. Route: how to get Wins. One Win is enough for the badge; do not wait for a leaderboard number.
- 1st Rebirth — last badge on this list. Complete the buy steps below, then open rebirth and press it when the live button is available. Hoarding Wins past that point is usually worse than resetting for the multiplier.
First purchases (still session one)
We do not name individual slashes, auras, or pets because those labels are not independently locked here. Use the tier hubs for “what to click in the shop,” not this checklist.
- First slash buy — spend Wins on a better slash than the starter swing. Compare options on the slash tier list and the parent tier list. Then go back to walls; a new slash that you never swing is a wasted Win.
- First aura — auras are multipliers. Buy one when the shop price will not delay 1000 Power or 1st Win! by a painful amount. Reference: aura tier list.
- First pet hatch — open an egg only when you can afford it without skipping rebirth. Luck passes (Lucky / Super Lucky / Mega Lucky) are optional. Guide: pets and eggs. Ranking: pet tier list.
- Rebirth decision — if 1st Rebirth is still locked, you are not done. If it is available and your next wall feels gated, rebirth. Read rebirth once so you know what resets.
Optional Robux (after the free ticks)
- Read gamepass value before any purchase.
- 2x Power (49) or 2x Wins (69) only if the free loop already makes sense.
- Extra pet equip (+3 for 199, +6 for 299) or inventory space only after you actually hatch more than you can hold.
- VIP Slashes (99) only after you understand the slash shop.
- Test Dummy: VIP 249 or Electric 1399 — paid Power training, not a required NPC, not a codes clerk.
Skip every pass if you are still missing 100 Power. Robux does not replace the checklist; it only shortens ticks you already know how to complete.
Session-one anti-stalls
- If Power is frozen, you are not clicking or a menu is covering the slash — controls.
- If walls do nothing, you do not have enough Power yet — stay on how to get Power.
- If Wins pile up with no shop buy, you are stalling — pick a slash or aura, or rebirth.
- If you want a script to tick for you, that is not this page: scripts hub and auto farm, TOS risk included.
- If you care who is ahead, wait until after 1st Rebirth, then leaderboards and players.
After the five badges
Session two is not another copy of this list. It is: restack Power, buy the next slash/aura you can defend with the tier lists, hatch only on surplus Wins, watch updates and the latest update when the World 4 icon changes, and ignore fake code tables. Official URLs: links hub.
Print this mentally as join group → 100 Power → 1000 Power → first wall/Win → slash → aura → pet if cheap → rebirth. Anything else is optional. The checklist is done when 1st Rebirth is in the badge inventory and you know why the next wall is still worth clicking.
Frequently Asked Questions
Quick answers for Power, Wins, rebirth, and codes.
Which badges should I chase first?
Thanks For Playing!, then 100 Power, 1000 Power, 1st Win!, and 1st Rebirth. That is the full live badge set we list — do not wait on unnamed extras.
When do I buy my first slash versus taking rebirth?
Buy a first slash (and an aura if the price is kind) so walls actually break, then rebirth when the 1st Rebirth badge is available and extra Wins would only sit unused. Details: rebirth.
Do I need a pet before 1st Win?
No. Hatch when the egg does not delay your first wall or first rebirth. See pets and eggs.
Where does the group join sit on the list?
Do it at the start, then rejoin the experience. Ryu Studio group rewards are a small extra, not a badge replacement.
Should I use auto farm to finish this checklist?
You can play the whole list by hand. Auto farm is optional, risky, and documented separately on Slash Per Click Auto Farm.